Safety
Read this before you start measuring
This setup involves an infrared laser, sensor bias voltage and a motorized stage at the same time. If you are using the setup for the first time, always work with an experienced person present.
Laser
- The light source is an NKT Photonics PiLAS DX (wavelength 1064 nm, pulse width 50 ps) and is Class 1. 1064 nm is invisible. The beam may be on even if you cannot see it.
- The dark room is the whole room, and it has an interlock.
- Wearing the green safety goggles is mandatory when you enter the dark room while the laser is emitting.
- The light is guided through a polarization-maintaining fiber to the objective in the dark room. Never fire the laser with the fiber or objective removed.
- Pressing [Emission ON (ld=1)] in the GUI opens a confirmation dialog asking whether the interlock and optics setup have been checked. Check them, then press [Yes].
- If your work in the dark room does not need the laser, press [Emission OFF (ld=0)] before entering and check that the status display shows "Emission: OFF". If you enter with the laser emitting, wear the green goggles as stated above.
- Closing the GUI does not stop the laser. Always press [Emission OFF (ld=0)] before quitting the GUI.
-
If anything seems wrong, press [■ STOP ALL] at the right end of the toolbar (aborts the task → laser OFF → stops the stage → scope STOP).
-
The green safety goggles are kept near the dark room on the central workbench.
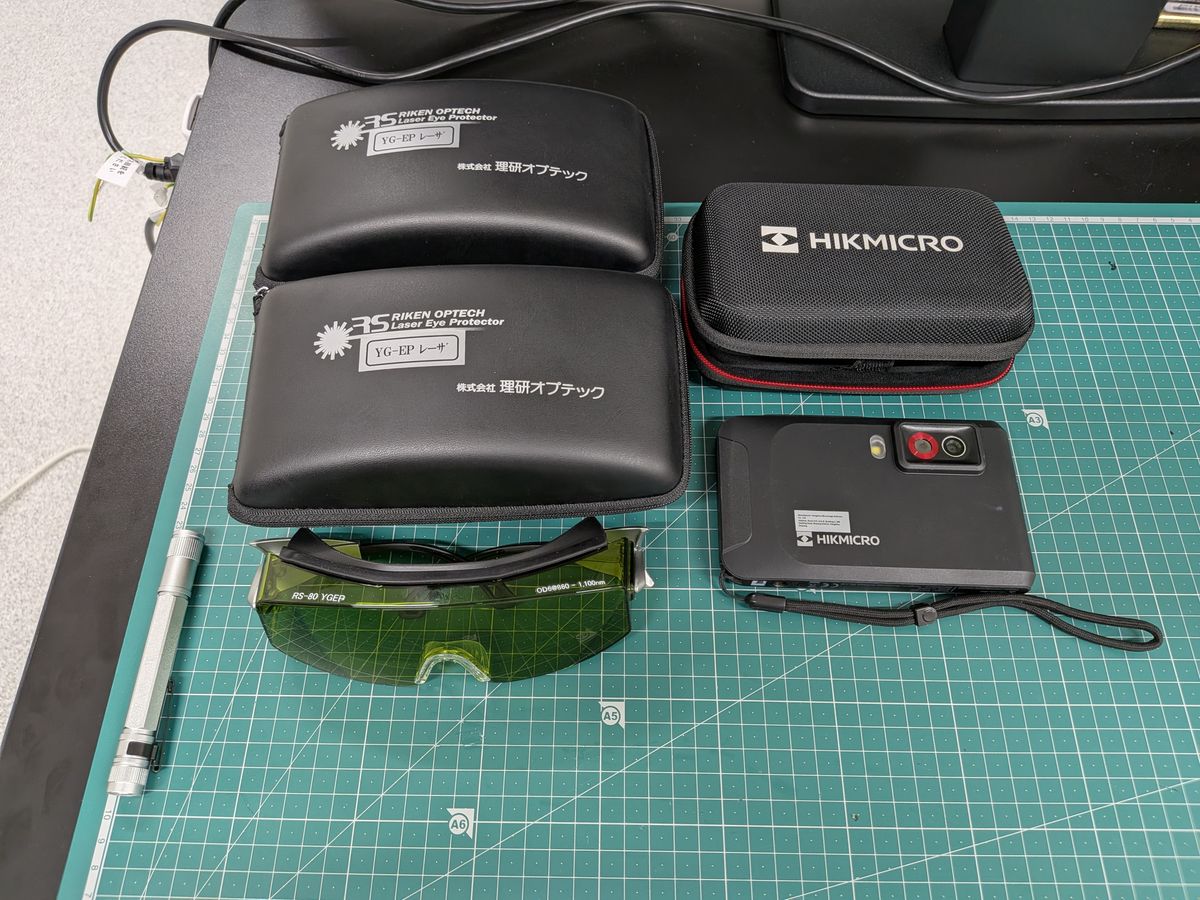
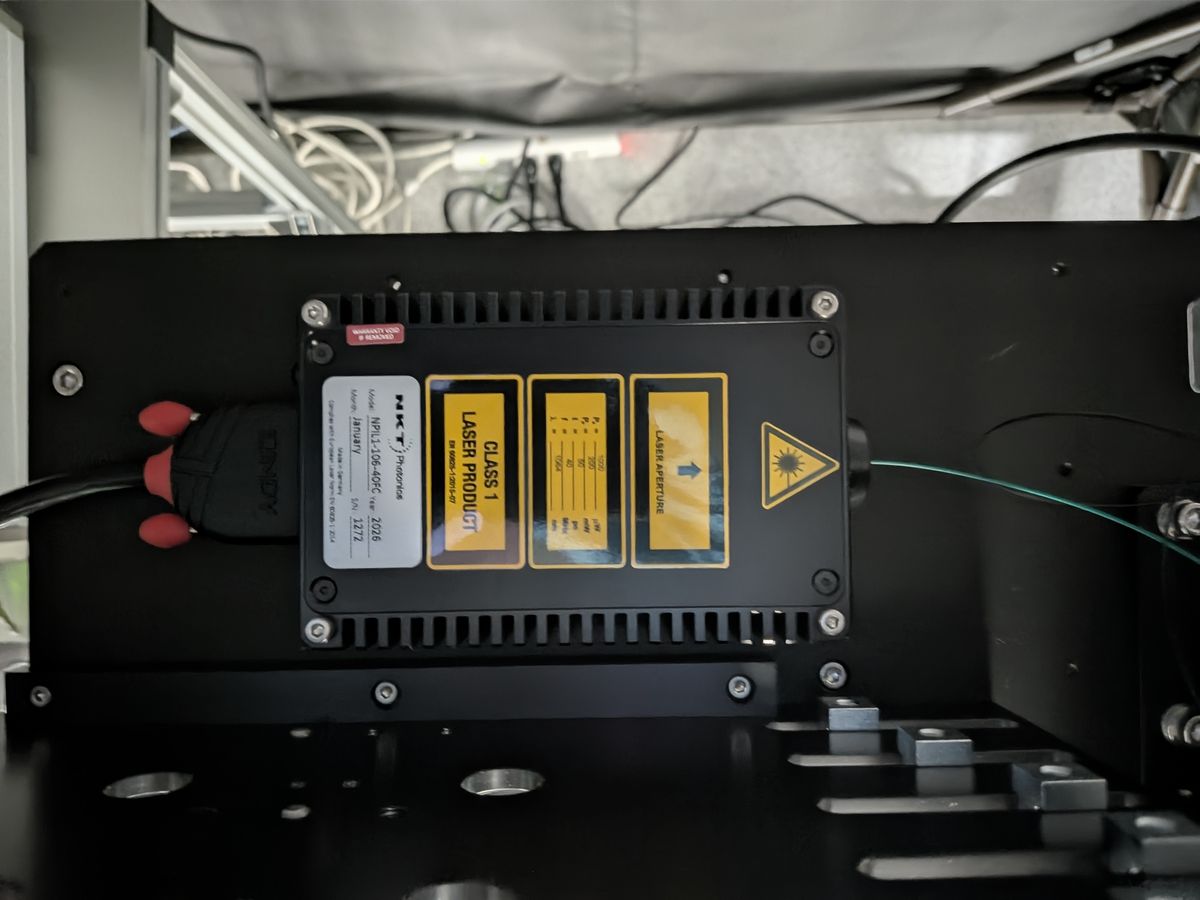
- Laser safety officers: see Internal information (password protected)
Stage (collision with the objective)
- The 3-axis stage SHRC-203 needs a Mechanical Home (H:W) right after startup. All axes move a long way during this. First make sure the sample (readout board) and the objective cannot collide.
- The travel per pulse is 2 µm/pulse for X, Y and Z (confirmed on the hardware). If you change
stage_um_per_pulseinconfig_local.json, jog in small steps and check the actual travel. Moving a long way with a wrong setting risks hitting the objective. - At scan start, a warning appears if the Z of the first point is 30 µm or more away from the current Z. Always check that this is intended.
- [Stop (L:W)] and [EMERGENCY STOP] on the stage panel can be pressed even while a task is running.
Sensor bias voltage
-
The AC-LGAD gets HV (sensor bias), and the readout board gets LV 6.0 V (amplifier supply). These are not controlled from the GUI; operate the power supplies by hand.
Supply Model Setting LV (readout board) Rohde & Schwarz NGP800 series 6.0 V HV (sensor bias) Matsusada P4L650-0.1 (Regulated DC Power Supply) Depends on temperature. −190 to −195 V is optimal at a sensor temperature of 33 °C. Do not exceed −220 V -
Bias the sensor last, after all other equipment is powered on. The order is LV 6.0 V → HV.
- The GUI status bar shows reference values (
HV -185 V / LV 6 V, the values inconfig.py), but set the actual HV according to the table above. - HV goes up to −220 V. Never set a value beyond that. LV is fixed at 6 V.
- The supply ramps HV up and down in steps automatically. For how to operate it, see Power and switches.
-
Before changing cables or swapping the sensor (readout board), ramp the voltage down to 0 V and turn the output OFF.
-
The current limits (compliance) are set to 1.0 mA (HV) and 1.0 A (LV). Check these settings before biasing. Normal currents are about 0.4–5 µA (HV) and about 0.450 A (LV) (Power and switches).
Electrostatic discharge (ESD)
- The readout board (FNAL 16-channel board, amplifier Mini-Circuits GALI-S66) and the sensor are sensitive to static electricity. Do not touch the terminals or components directly. The swap procedure is in Swapping the readout board.
General notes for other TCT setups
The Hiroshima setup measures unirradiated sensors without cooling (sensor temperature about 33 °C). Setups that use cooling or irradiated samples need the following additional precautions.
Cooling and condensation
- While cooling, flush with dry air or nitrogen and make sure the dew point is well below the measurement temperature.
- After measuring, warm up to room temperature before opening the dark box. Opening it cold causes condensation that can destroy sensors and electronics.
Irradiated samples
- Irradiated samples may be activated. Handle them according to your institute's regulations.
- Mind the storage temperature to avoid unwanted annealing.